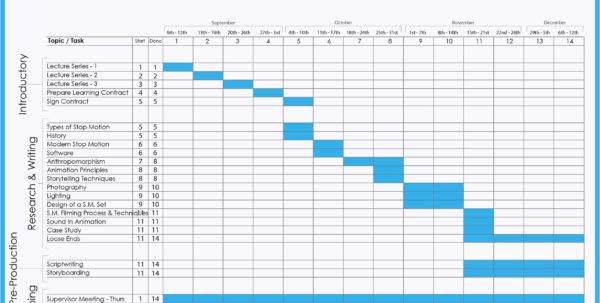
How to Create a Project Timeline in Excel
Using Excel to create a project timeline will be quite easy for you. It is not necessary to use every feature in the program if you are working with a single project and the amount of time that will take you to accomplish this is quite minimal. Here are some tips to make it easy for you.
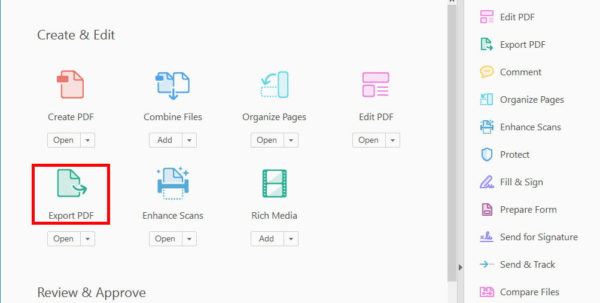
The first thing that you will need to do is open Excel. Then you will need to make a new document. Make sure that you do not make a blank one. This is because Excel has limitations in its system and if you do, you will only end up spending more time.
The next thing that you have to do is import the data that you want to add. In order to make this process easy, you will need to make a copy of the file. Copy the file in Excel’s files tab. If you do not have the ability to do this, then just right click the file and select the option to copy. After you have made the copy, you will want to paste the data into your document.
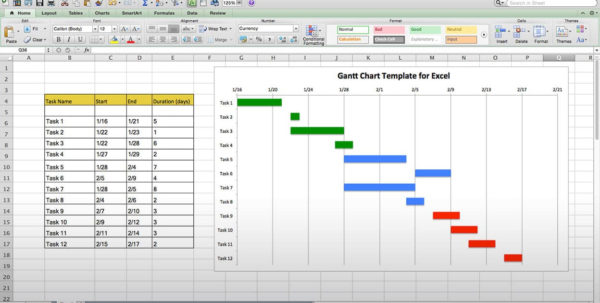
With the data in hand, you will now need to add certain tasks. For instance, when it comes to creating a worksheet for some of the tasks, you will need to go into the menu that is located at the top of the screen. There, you will find the items that you can use to create tasks.
![]()
These tasks can include adding and deleting fields or any other item in the program. This is very simple to do, all you have to do is hold down the Ctrl key and click the tool button. Choose to use the table cell options.
You will also want to select the option of using workbooks. These workbooks can be formatted by clicking on the format option at the bottom of the workbook.
When you have done this, you will use the drop down menu to the right of the table cell to choose the properties. You will then be able to change the formatting and type of the table cells.
Next, you will want to format the worksheet that you created. This will require that you click on the format option on the top right side of the worksheet. This will bring up the format window, which is where you will be able to change the formatting for this sheet.
The most important parts that you will need to put into place are the date format, the space bar format, and the list of items. Also, you will want to set the default header or footer. This will give you the opportunity to put the header and footer where you will want them.
With all of these elements in place, you will then be able to drag and drop to create the cells that you need. This will open up the spreadsheet. All that you will need to do is click on the desired cell and use the keyboard shortcut to copy the cell.
These tips are great ways to save time when creating a multiple project timeline Excel. If you have questions about Excel, you can always visit my website. LOOK ALSO : monthly project timeline template excel